CRS Prospecting: Creating Labels
Tutorial on how to Create Labels in CRS
Realtracs provides you with multiple 3rd Party Tools right from our platform. Due to Realtracs' integration a single sign-on provides seamless access to the Courthouse Retrieval System!


The Courthouse Retrieval System is a 3rd Party Online report generating tool that Realtracs has provided for you. The MLS Tax Suite by CRS provides customizable and comprehensive access to property records, neighborhood comparables and mapping details.
Click the link below to go to the MLS Tax Suite Help Center in CRS.
CREATE LABELS- In CRS, click the Prospecting Tab.

- To learn to prospect in the CRS System click [HERE].
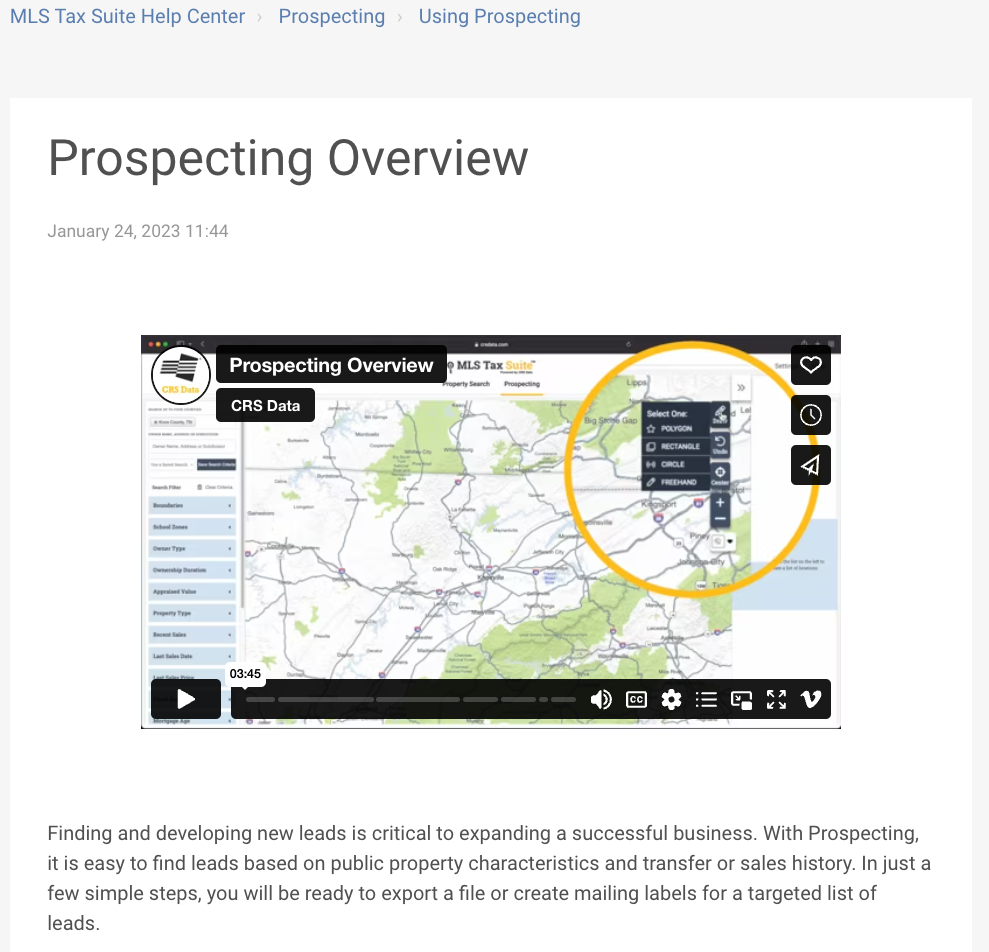
- Once you've completed your prospecting search, and have the results you wish to use, select 'Create Labels'.

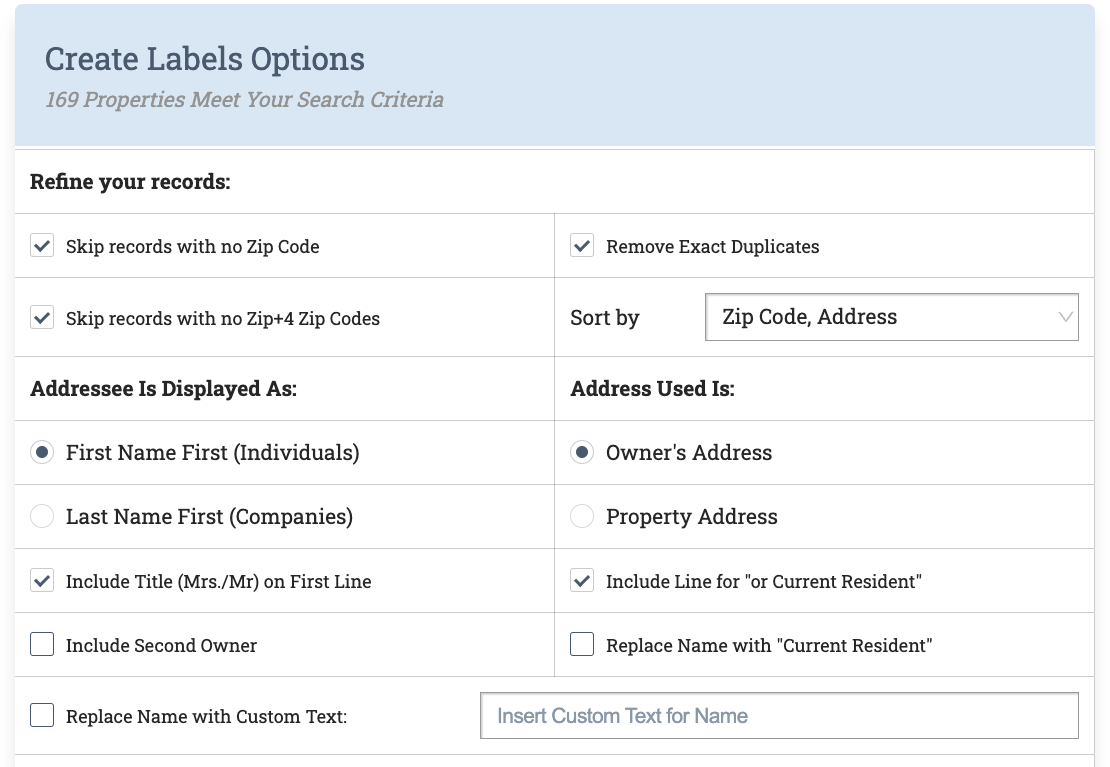
- Next decide how you want to set them up. Refine your records, and choose how you wish for them to display.
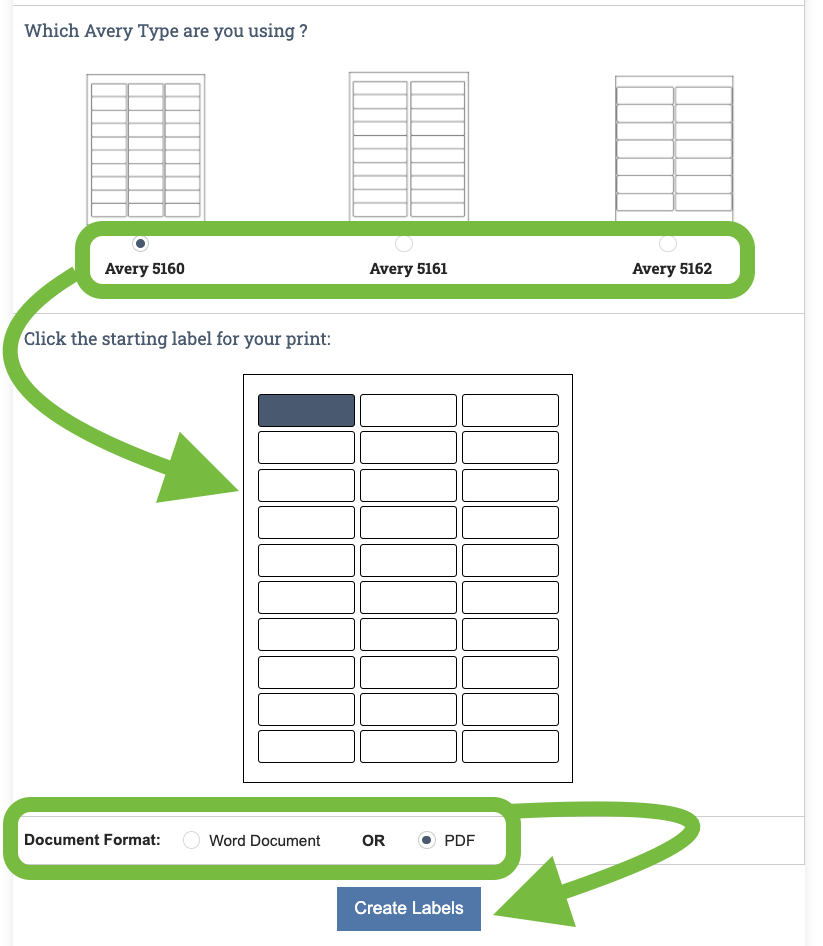
 Select the Avery Label size you want, then choose the starting label for your print. If you have Microsoft Office on your computer we recommend choosing 'Word Document'. Then select 'Create Labels'.
- The document will drop to the bottom of your screen. If using 'PDF', open the document and just print.

- If using 'Word Document', open the document.
 From here you can edit the font, size, and color. Select the entire document and make the changes you wish.
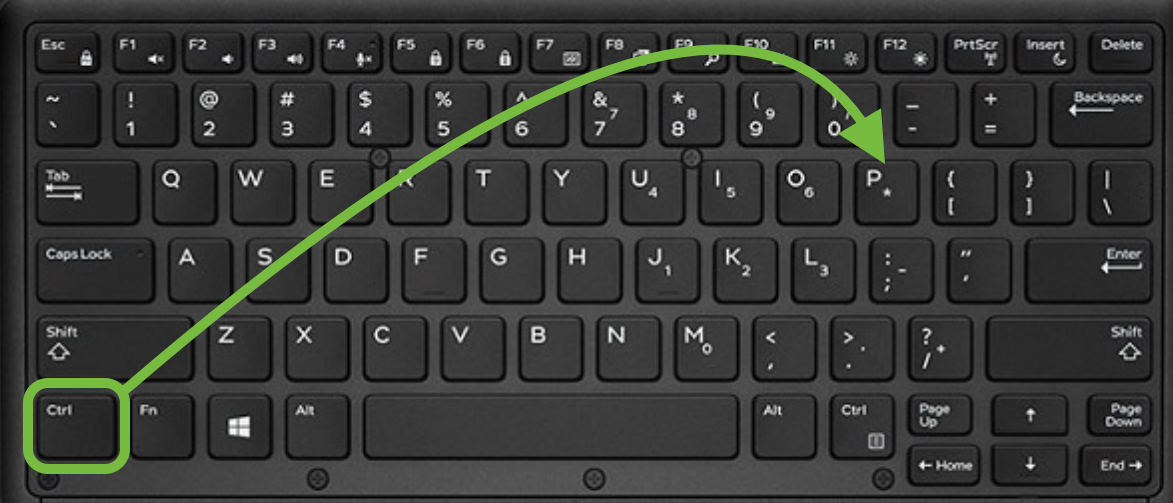
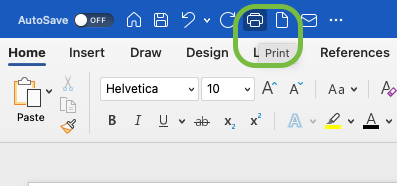
 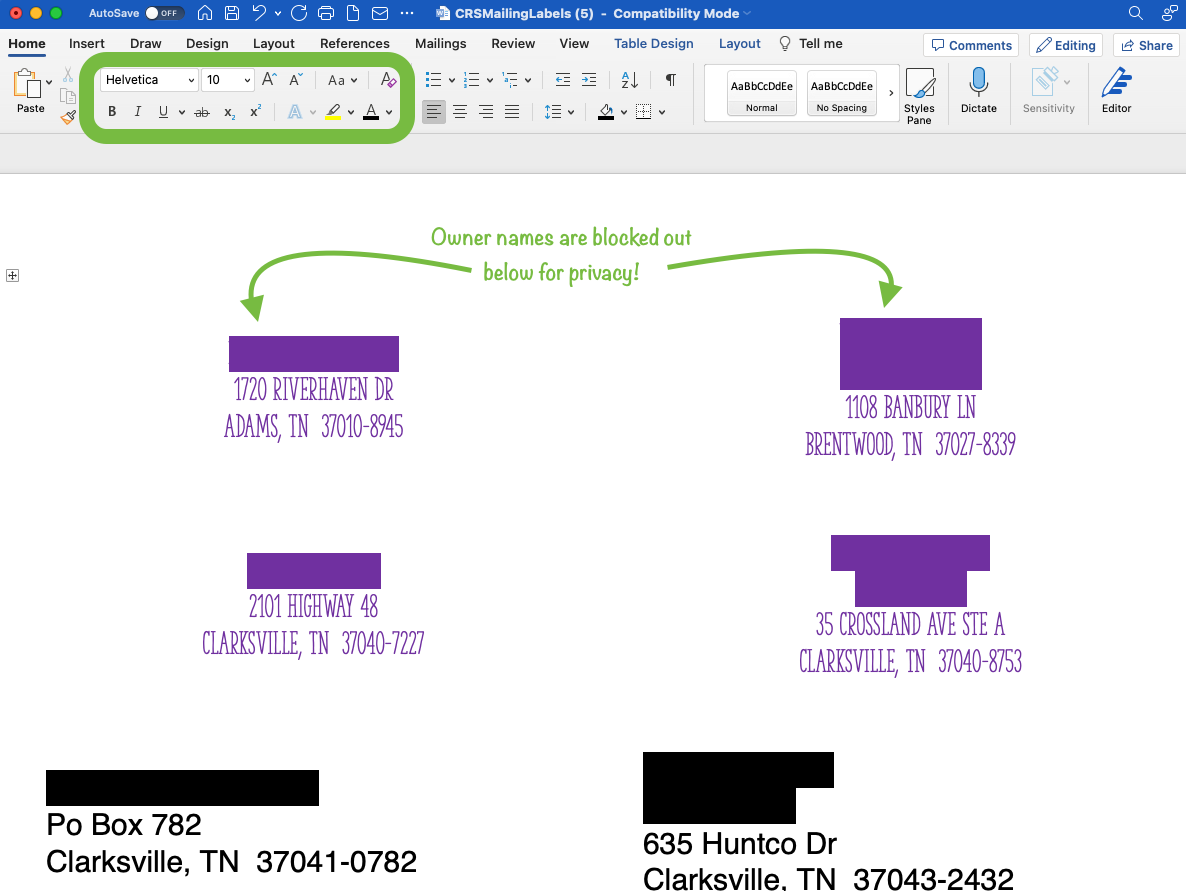 Then, enter the labels in the printer. 'Command P' on a Mac or 'Control P' on a PC to print labels OR just select the printer icon.
📢 Still Need Assistance? Contact our Support Team!
💬 Chat with us! Click the chat bubble at the top right.
🕗 Mon - Fri: 7am - 6pm CST Sat: 9am - 4pm CST
✉️ support@realtracs.com 📞 p: 615-385-0777